Items Needed:
Empty CD case
Piece of cardboard - minimum 6.5 inches square
2 pieces of Designer Paper - minimum 8 inches square
Piece of coordinating card stock - minimum 6.5 inches square
2016 Calendar - there lots of free ones available to download/print out on the internet. Due to copyright laws I am not able to share the file for the calendar I used, but check out the following amazing blog: https://scrappystickyinkymess.wordpress.com
Paper Trimmer, Scissors or craft knife
Adhesive
2 nesting dies of your choice - if you don't have dies then you can cut your apertures by hand

Using the case as a guide, cut a piece of card that is half an inch bigger than your CD case

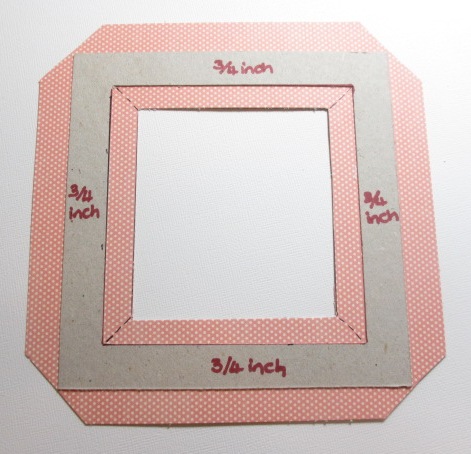
Measure a border 3/4 inch wide around the edge of your card and then cut away the centre section


Attach the frame to the centre of your paper, leaving a border of approx 5/8th inch all the way round

Mitre your corners, making sure you don't cut too close to the edges of your card
(if you cut too close a bare cardboard edge will show on the finished calendar)
Mark a border inside the frame approx 5/8 inch and cut out the centre square.

Cut into the corners as shown by the dotted lines in the photo below
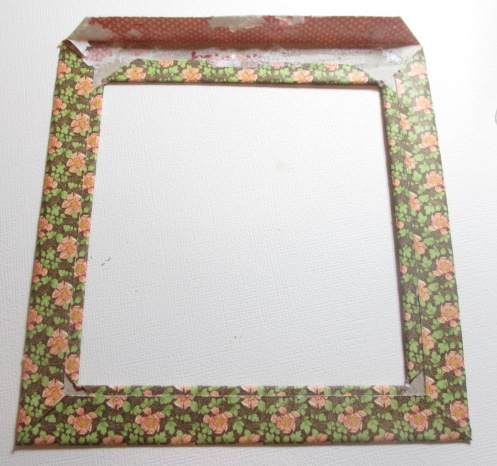
Gently fold the edges of your paper around the frame

Glue or tape the folded edges around your frame
Cut two squares from each of your coordinating paper and card stock,
approx 1/8th inch smaller than your frame

Using the larger of your nesting dies, die-cut your chosen shape from the centre of your paper

Using the smaller of your nesting dies, die-cut your chosen shape from the centre of your card

Stick the two pieces together and attached them to your frame

Trim each month of your chosen calendar to fit centrally behind the tabs in the CD case
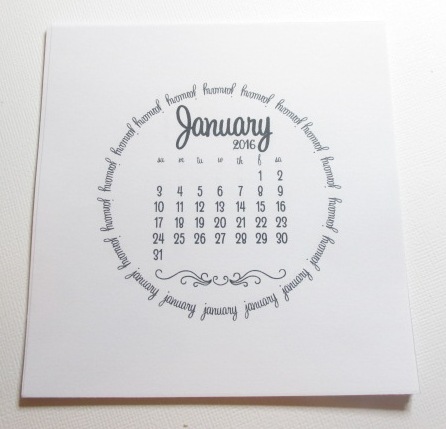
Slot the calendar into the CD case, (the tabs should hold it nicely in place)

Reassemble your CD case so that the cover slants as shown below

Attach your frame to the cover of the CD case,
making sure that your calendar is displayed centrally in the aperture

These calendars can be decorated as much or as little as you would like.
Here are the two I made, I would have made more but I have run out of CD cases so am on the hunt for some more - please feel free to message me if you have any questions about this project
Happy Crafting

Hello Deborah, What a fabulous idea and they look amazing. Great tutorial, thank you for sharing.
ReplyDeleteJade
A fab project and great instructions too
ReplyDeleteWhat an amazing project. Thank you for the instructions. Hugs Jackie
ReplyDeleteFab calendar. Great design x
ReplyDelete